Paperspace Core
![]()
This is a setup guide for Machine Learning developers on Paperspace Core. Paperspace Core allows users to create and connect to a GPU-enabled Virtual Machine and utilize it for their Machine Learning purposes.
The following steps will walk you through how to configure a Paperspace Core machine and utilize it for your Fast.ai journey.
Pricing
Pricing is standard across all Paperspace regions. Sample pricing for machines with 50 GB of SSD storage are below.
- GPU+: 8 vCPUs, 30 GB RAM, Nvidia Quadro M4000 - $0.457 hourly
- P4000: 8 vCPUs, 30 GB RAM, Nvidia Quadro P4000 - $0.517 hourly
- P5000: 8 vCPUs, 30 GB RAM, Nvidia Quadro P5000 - $0.787 hourly
- A6000: 8 vCPUs, 45 GB RAM, Nvidia Ampere A6000 - $1.897 hourly
Create an Account
You can create a Paperspace account by clicking on this link. When you create a Paperspace account, you can choose to sign up with an email address or with your GitHub or Google account.
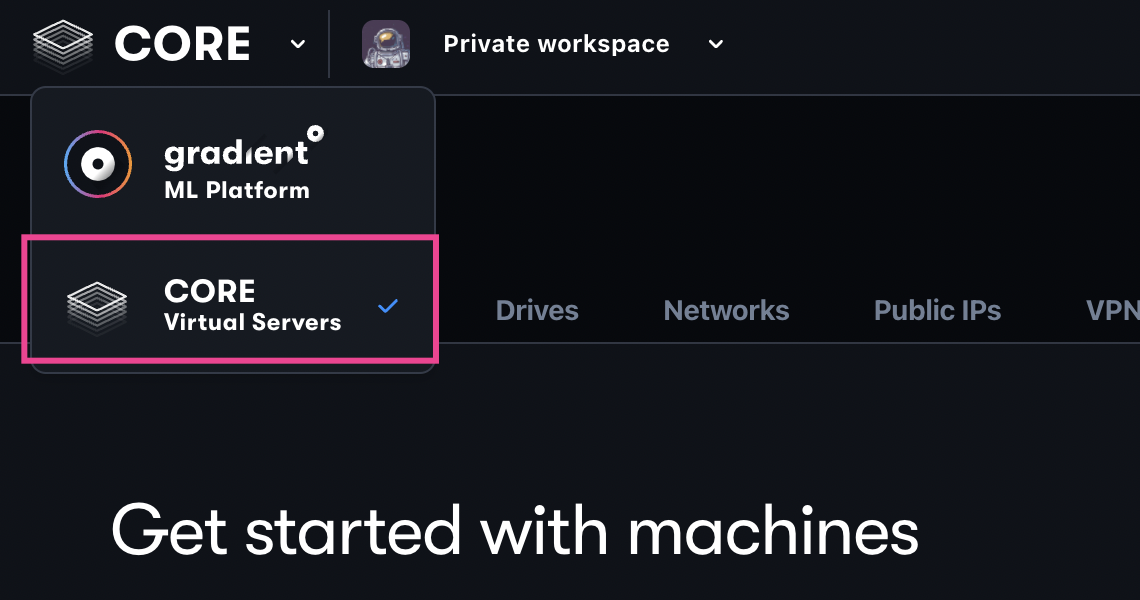
Select the Core product
When you first log into Paperspace, select Core from the product dropdown:
Configure a Machine
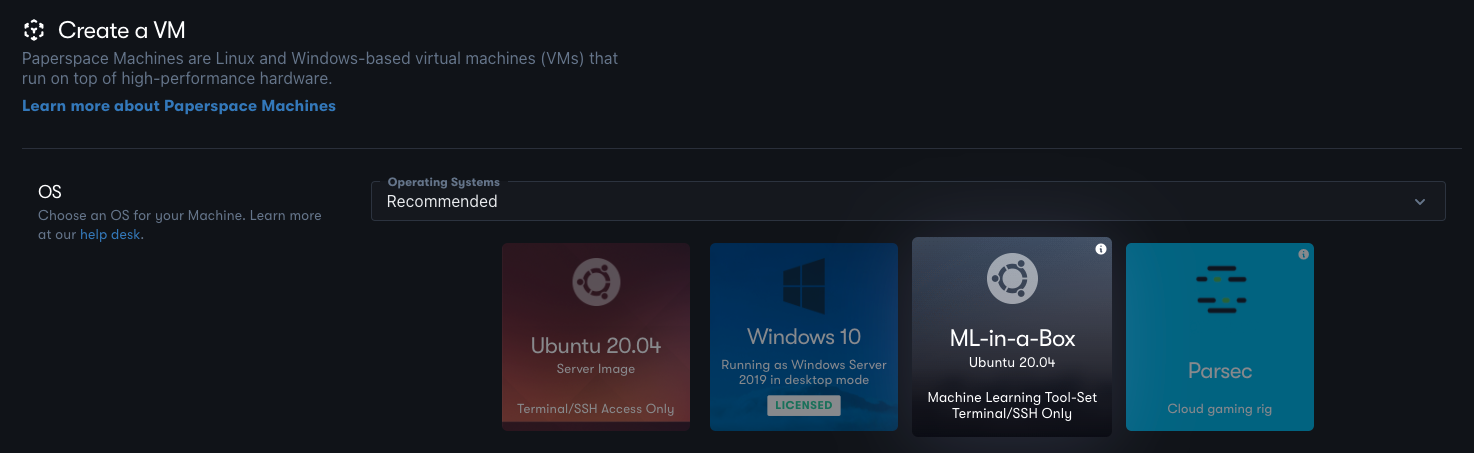
- Navigate to the Machines tab in Paperspace Core
- Click Create a Machine
- Select ML-in-a-Box Ubuntu 20.04
- Select your Machine Type and Region
- For authentication, choose ssh
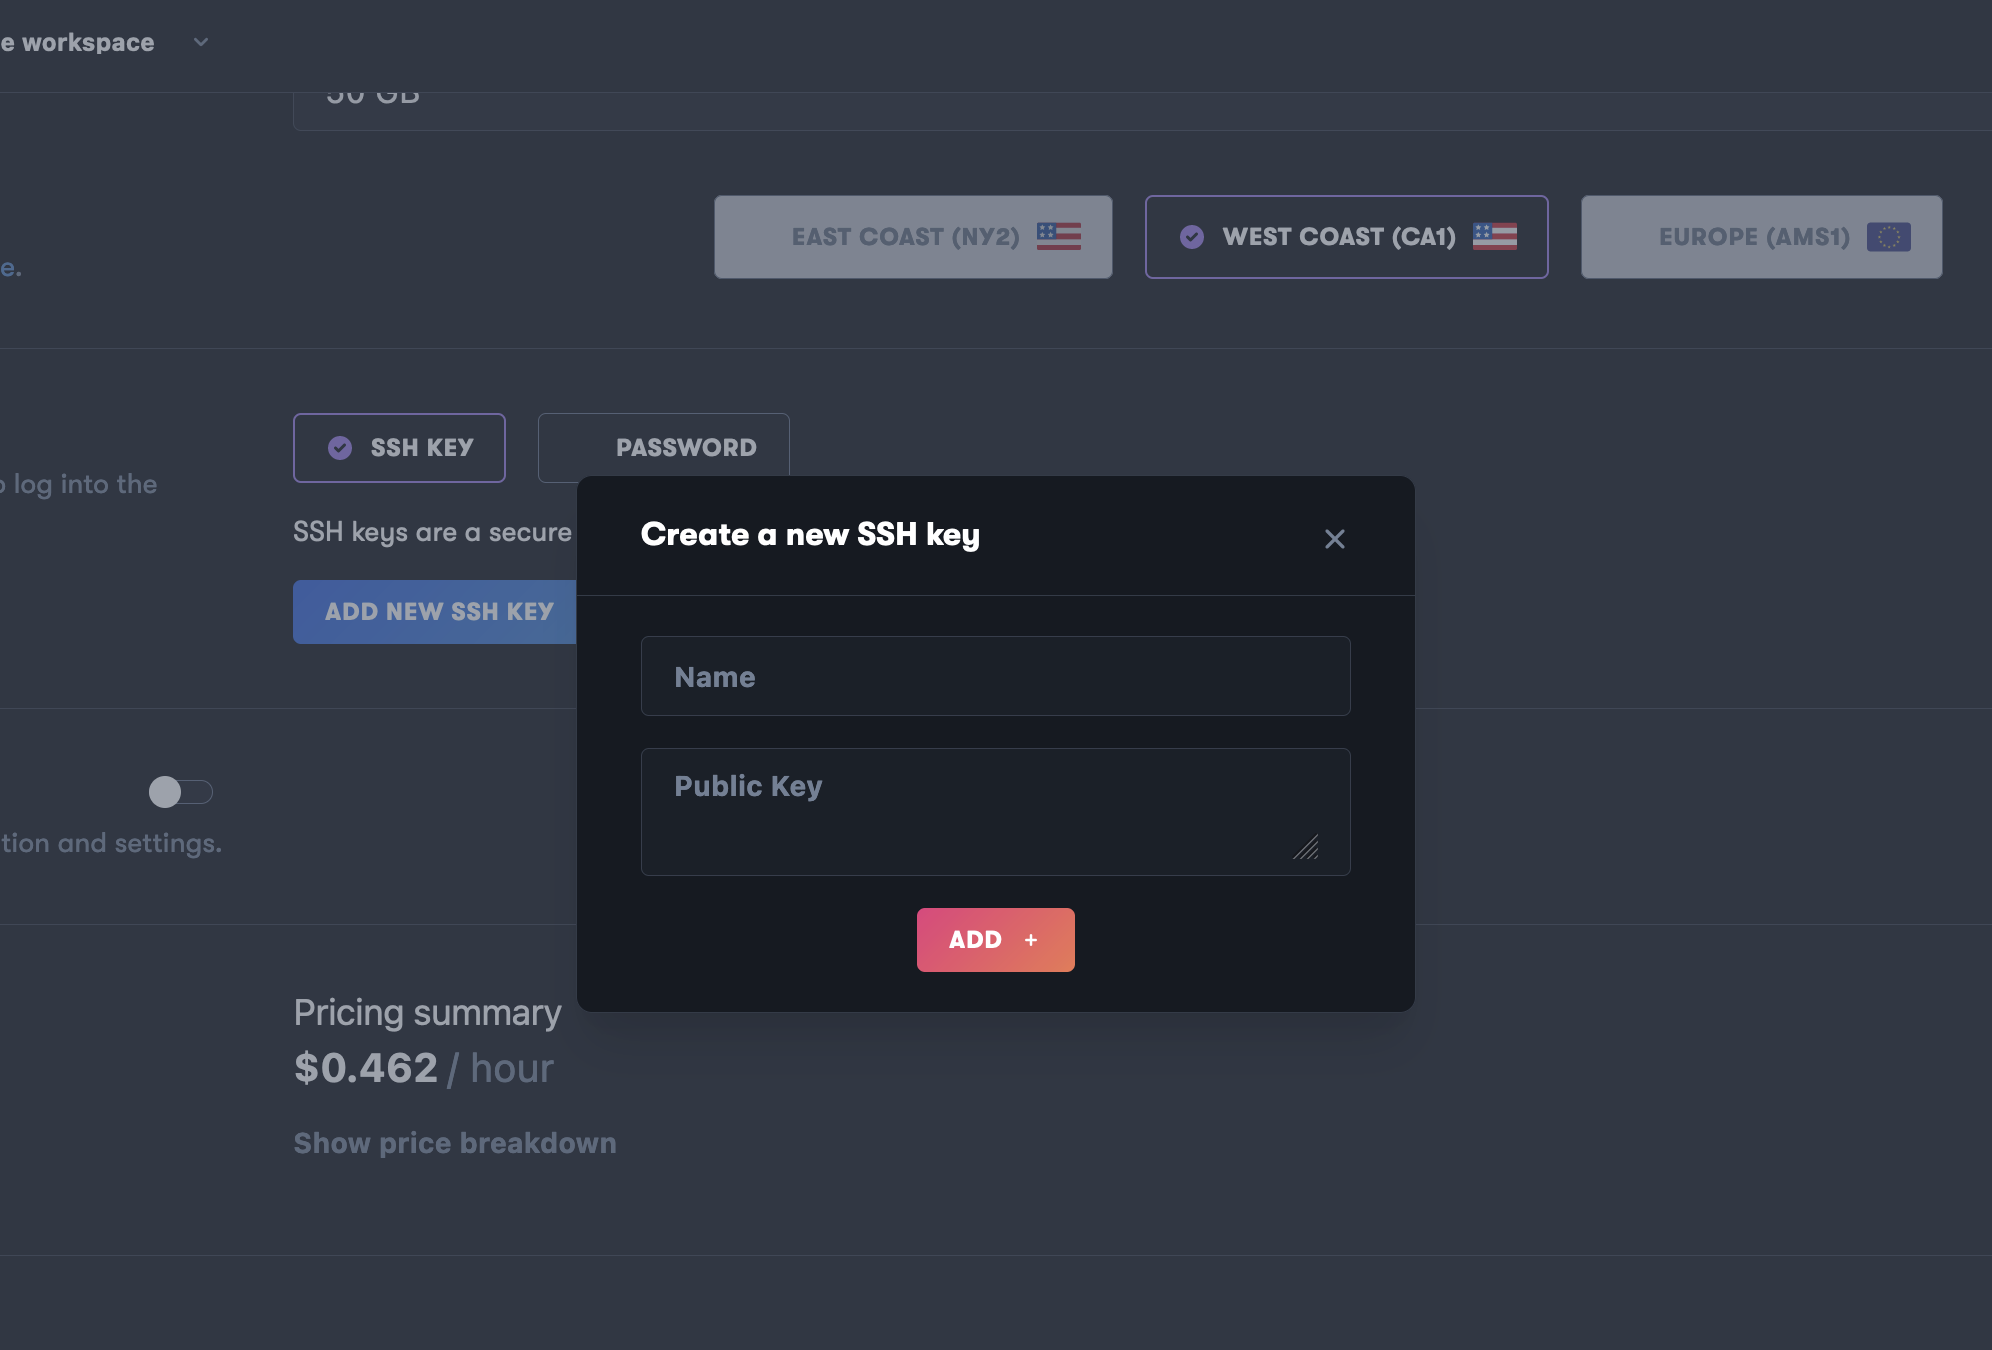
Adding SSH Keys
You can add SSH keys on the Create page by clicking on Add New SSH Key. Fill in the form by entering in a name, adding your Public SSH key, and clicking Add.
Note: If you need to create an SSH click here for information on how to create one.
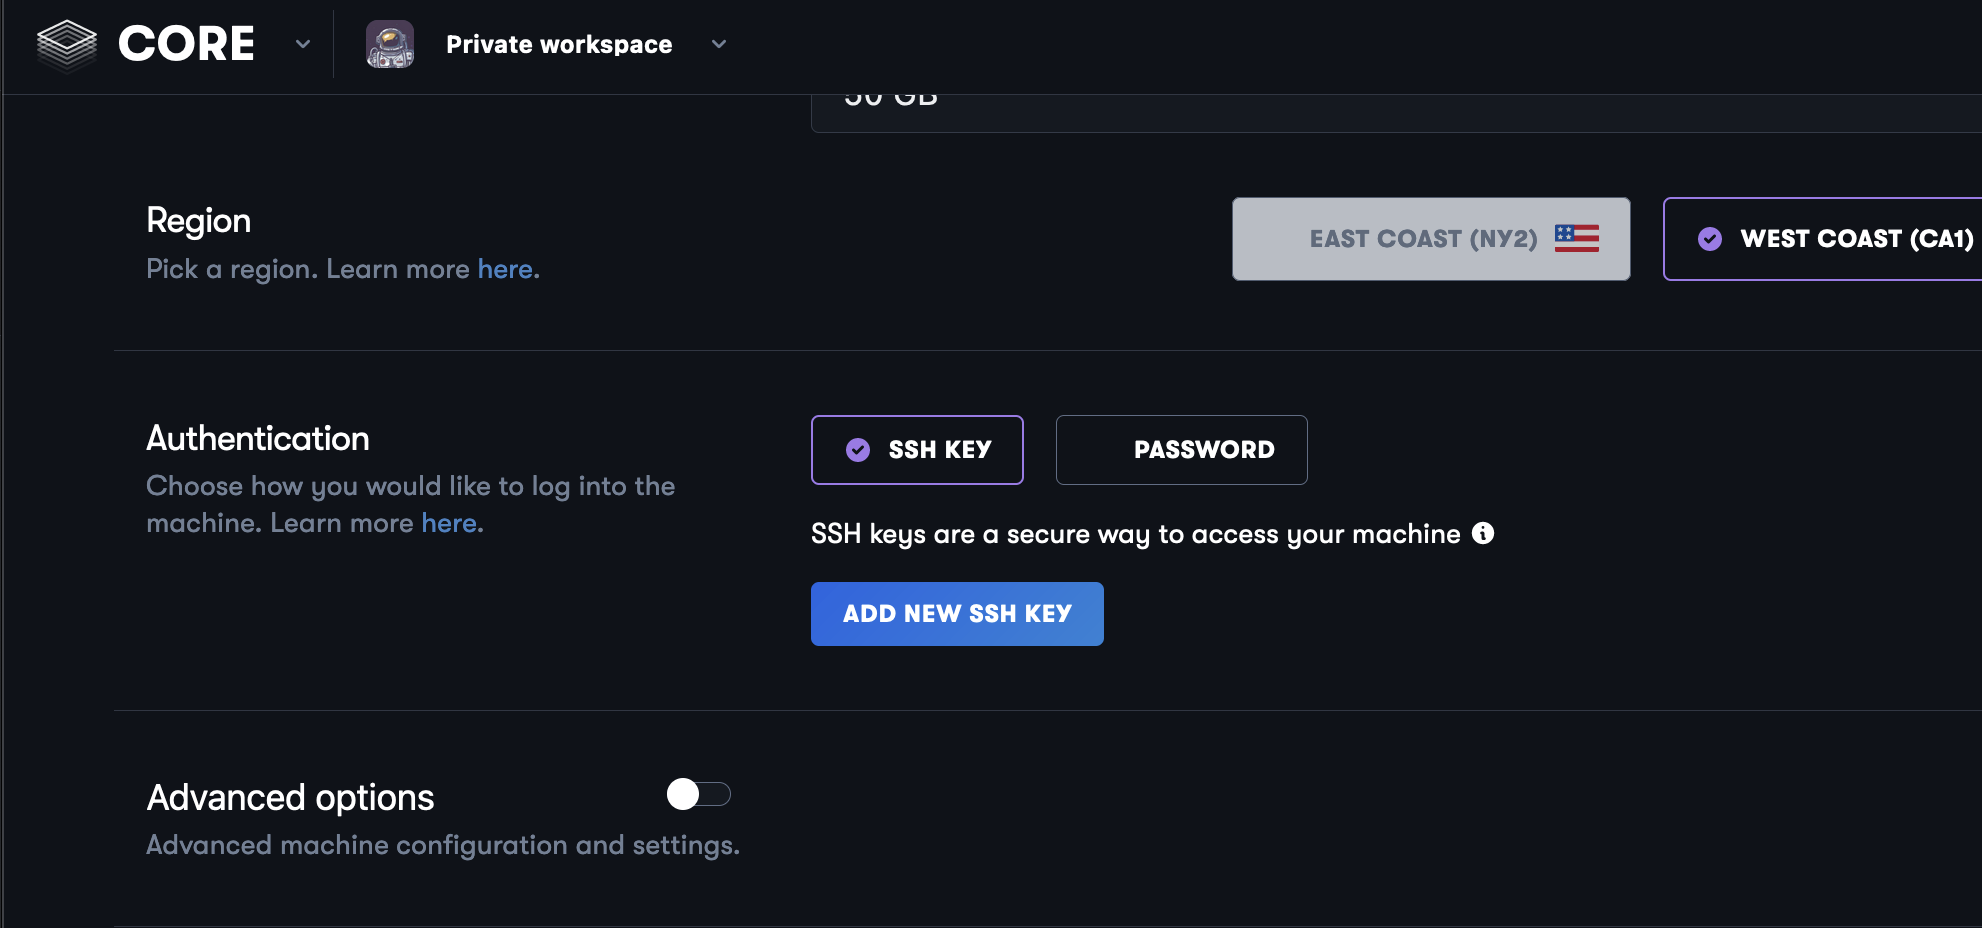
Optional: Review advanced options
You can optionally configure Advanced Options such as auto-snapshots, static public IP addresses, etc. No changes to the default configuration are required for the Fast.ai course.
Create Machine
Once you click Create, your machine will begin provisioning. If you set the machine to start after provisioning is complete, it will become available after it starts. The provisioning process typically lasts about one minute.
Connect to Your Machine
- Click Connect To Your Machine
This will provide you with the username and IP address to connect to your machine. You will need to modify the command to allow you to connect to the Jupyter server on your machine. The command to run in your local terminal will look like the example below:
ssh -L localhost:8888:localhost:8888 [email protected]
Note: By default, the Linux user is paperspace.
Installing Libraries
The image selected, ML in a Box, has all the NVIDIA and CUDA drivers that you will need to run on a GPU already installed. It also comes with useful Machine Learning Python packages pre-installed such as scikit-learn, NumPy, PyTorch, and TensorFlow.
However, following the steps below will set up an environment based on the Fast.ai requirements of this specific course.
First, clone the Fast.ai setup GitHub repository to your machine using:
git clone https://github.com/fastai/fastsetup.git
Move into the directory you just cloned:
cd fastsetup
Run the Conda setup script:
bash setup-conda.sh
Once Conda is installed, install the required packages for this course using the command below and following the prompts:
conda install -c fastai -c pytorch fastai
Once you run the above steps, your environment should be ready for the Fast.ai course!
Clone the Fast.ai Notebooks
Once the above libraries are installed, navigate to your desired directory and run the command below. This will clone the Fast.ai course GitHub repository to your machine.
git clone https://github.com/fastai/fastbook.git
Move into the directory you just cloned:
cd fastbook
Finally, spin up a Jupyter server using:
jupyter notebook
After the Jupyter server is running, copy and paste the url that was outputted in your terminal into your local browser to interact with the Jupyter enviornment and Fast.ai notebooks.
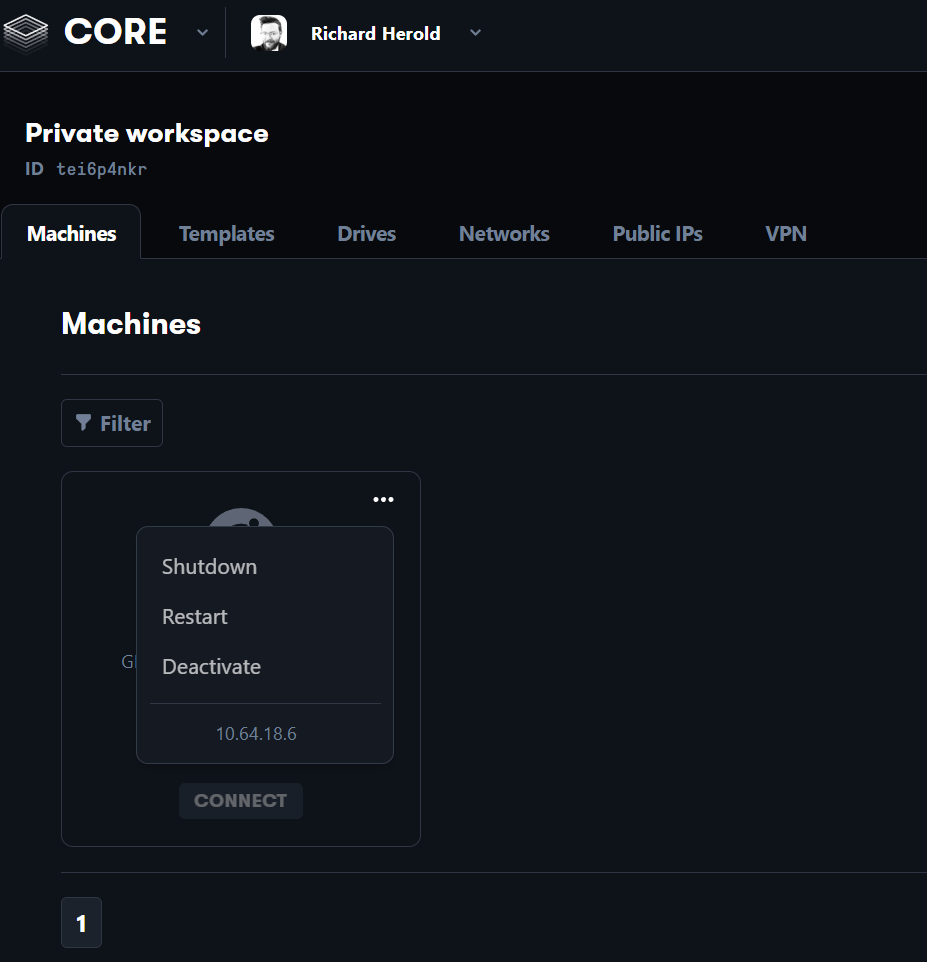
Stopping Your Instance
Make sure to shut down your machine when you are done
- Click on the machines tab
- Click the three dots at the top right of the machine you want to shut down
- Select “Shutdown”
Note you can also stop the instance from the VM using:
sudo shutdown now