SeeMe.ai Deployment.

This is a quick guide to deploy your trained vision models in just a few steps using SeeMe.ai.
NB: SeeMe.ai is currently in pre-release. You can register for an account by following the steps below, and get 1000 predictions per month. However note that unreleased services like this one may be unstable, or may change in substantial ways, including major changes to pricing or quotas. SeeMe.ai has not announced any pricing plans as yet.
Before you begin
If you prefer to have these steps in a Jupyter Notebook, have a look at the Fast.ai Quick guide on Github.
Setup
Install the SDK
All you need to deploy your model is the Python SDK:
pip install --upgrade seeme
Create a client
from seeme import Client

client = Client()
Register an account
If you have not done so already, create an account
my_password =  # example: "supersecurepassword"
my_username =  # example: "janvdp"
my_email =  # example: "[email protected]"
my_firstname =  # example: "Jan"
my_name =  # example: "Van de Poel"

client.register(
  username=my_username,
  email=my_email,
  password=my_password,
  firstname=my_firstname,
  name=my_name
)
Log in
client.login(my_username, my_password)
Deploy your model
Export your model for deployment
# Put your model in eval model
learn.model.eval()

# Export your model (by default your model will be exported to `export.pkl`)
learn.export()
Get the application_id for your framework (version).
application_id = client.get_application_id( base_framework=”pytorch”, framework=”fastai”, base_framework_version=str(torch.version), framework_version=str(fastai.version), application=”image_classification” )
Create a model
Create your model on SeeMe.ai
model_name = "My Model name"
description = "Created to be used..."

my_model = client.create_full_model({
    "name": model_name,
    "description": description,
    "application_id": application_id,
    "auto_convert": True
})
Upload your model
client.upload_model(my_model["id"], str(learn.path))
Use your model
Once your model is deployed, you can use it in a number of ways:
On the web
You can also open the web app via app.seeme.ai and log in with your credentials.
You will see an overview of all your models as well as the public models that can be used by anyone.
Click on the model to start making predictions.

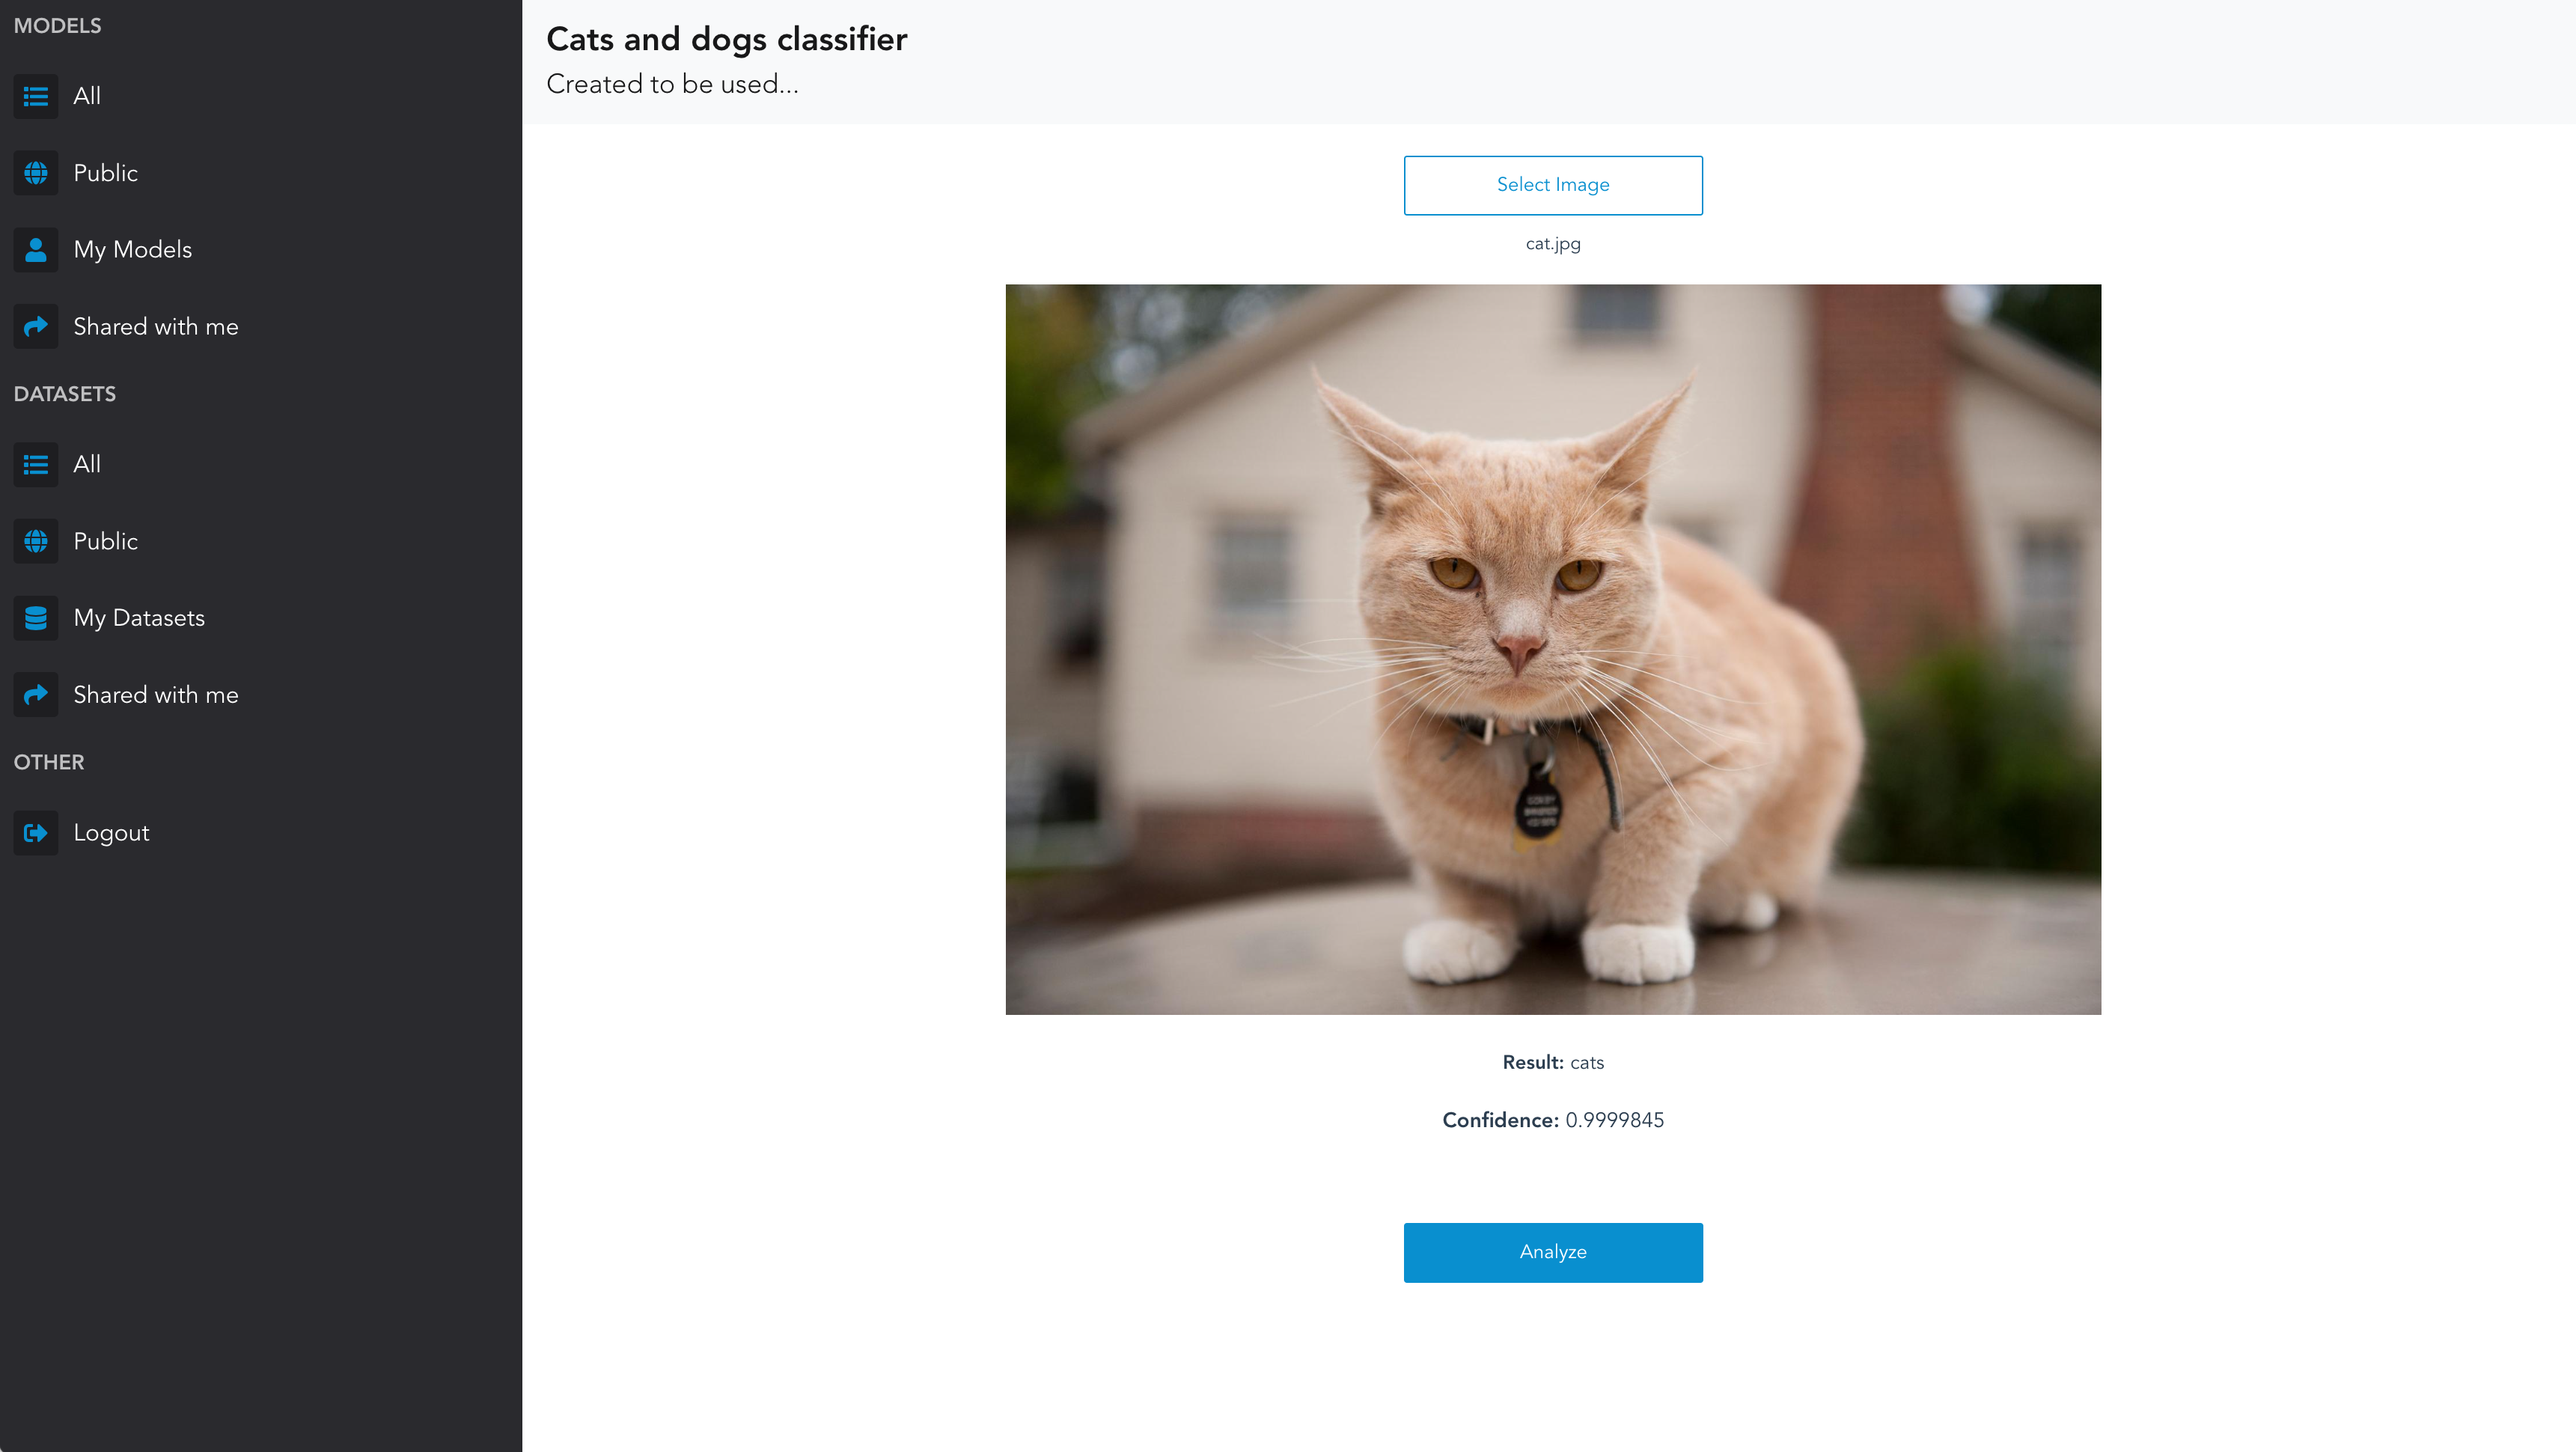
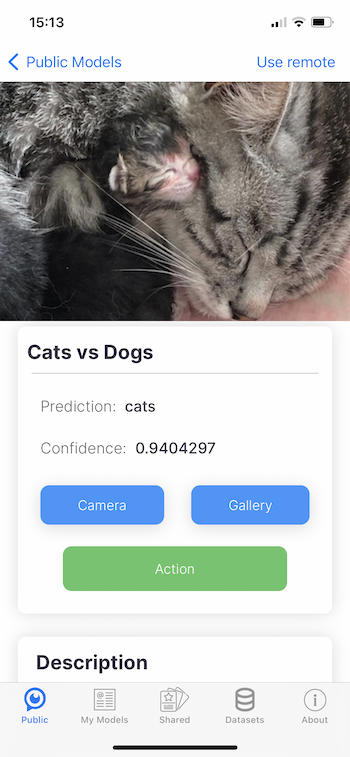
Here is what the detail screen looks like:
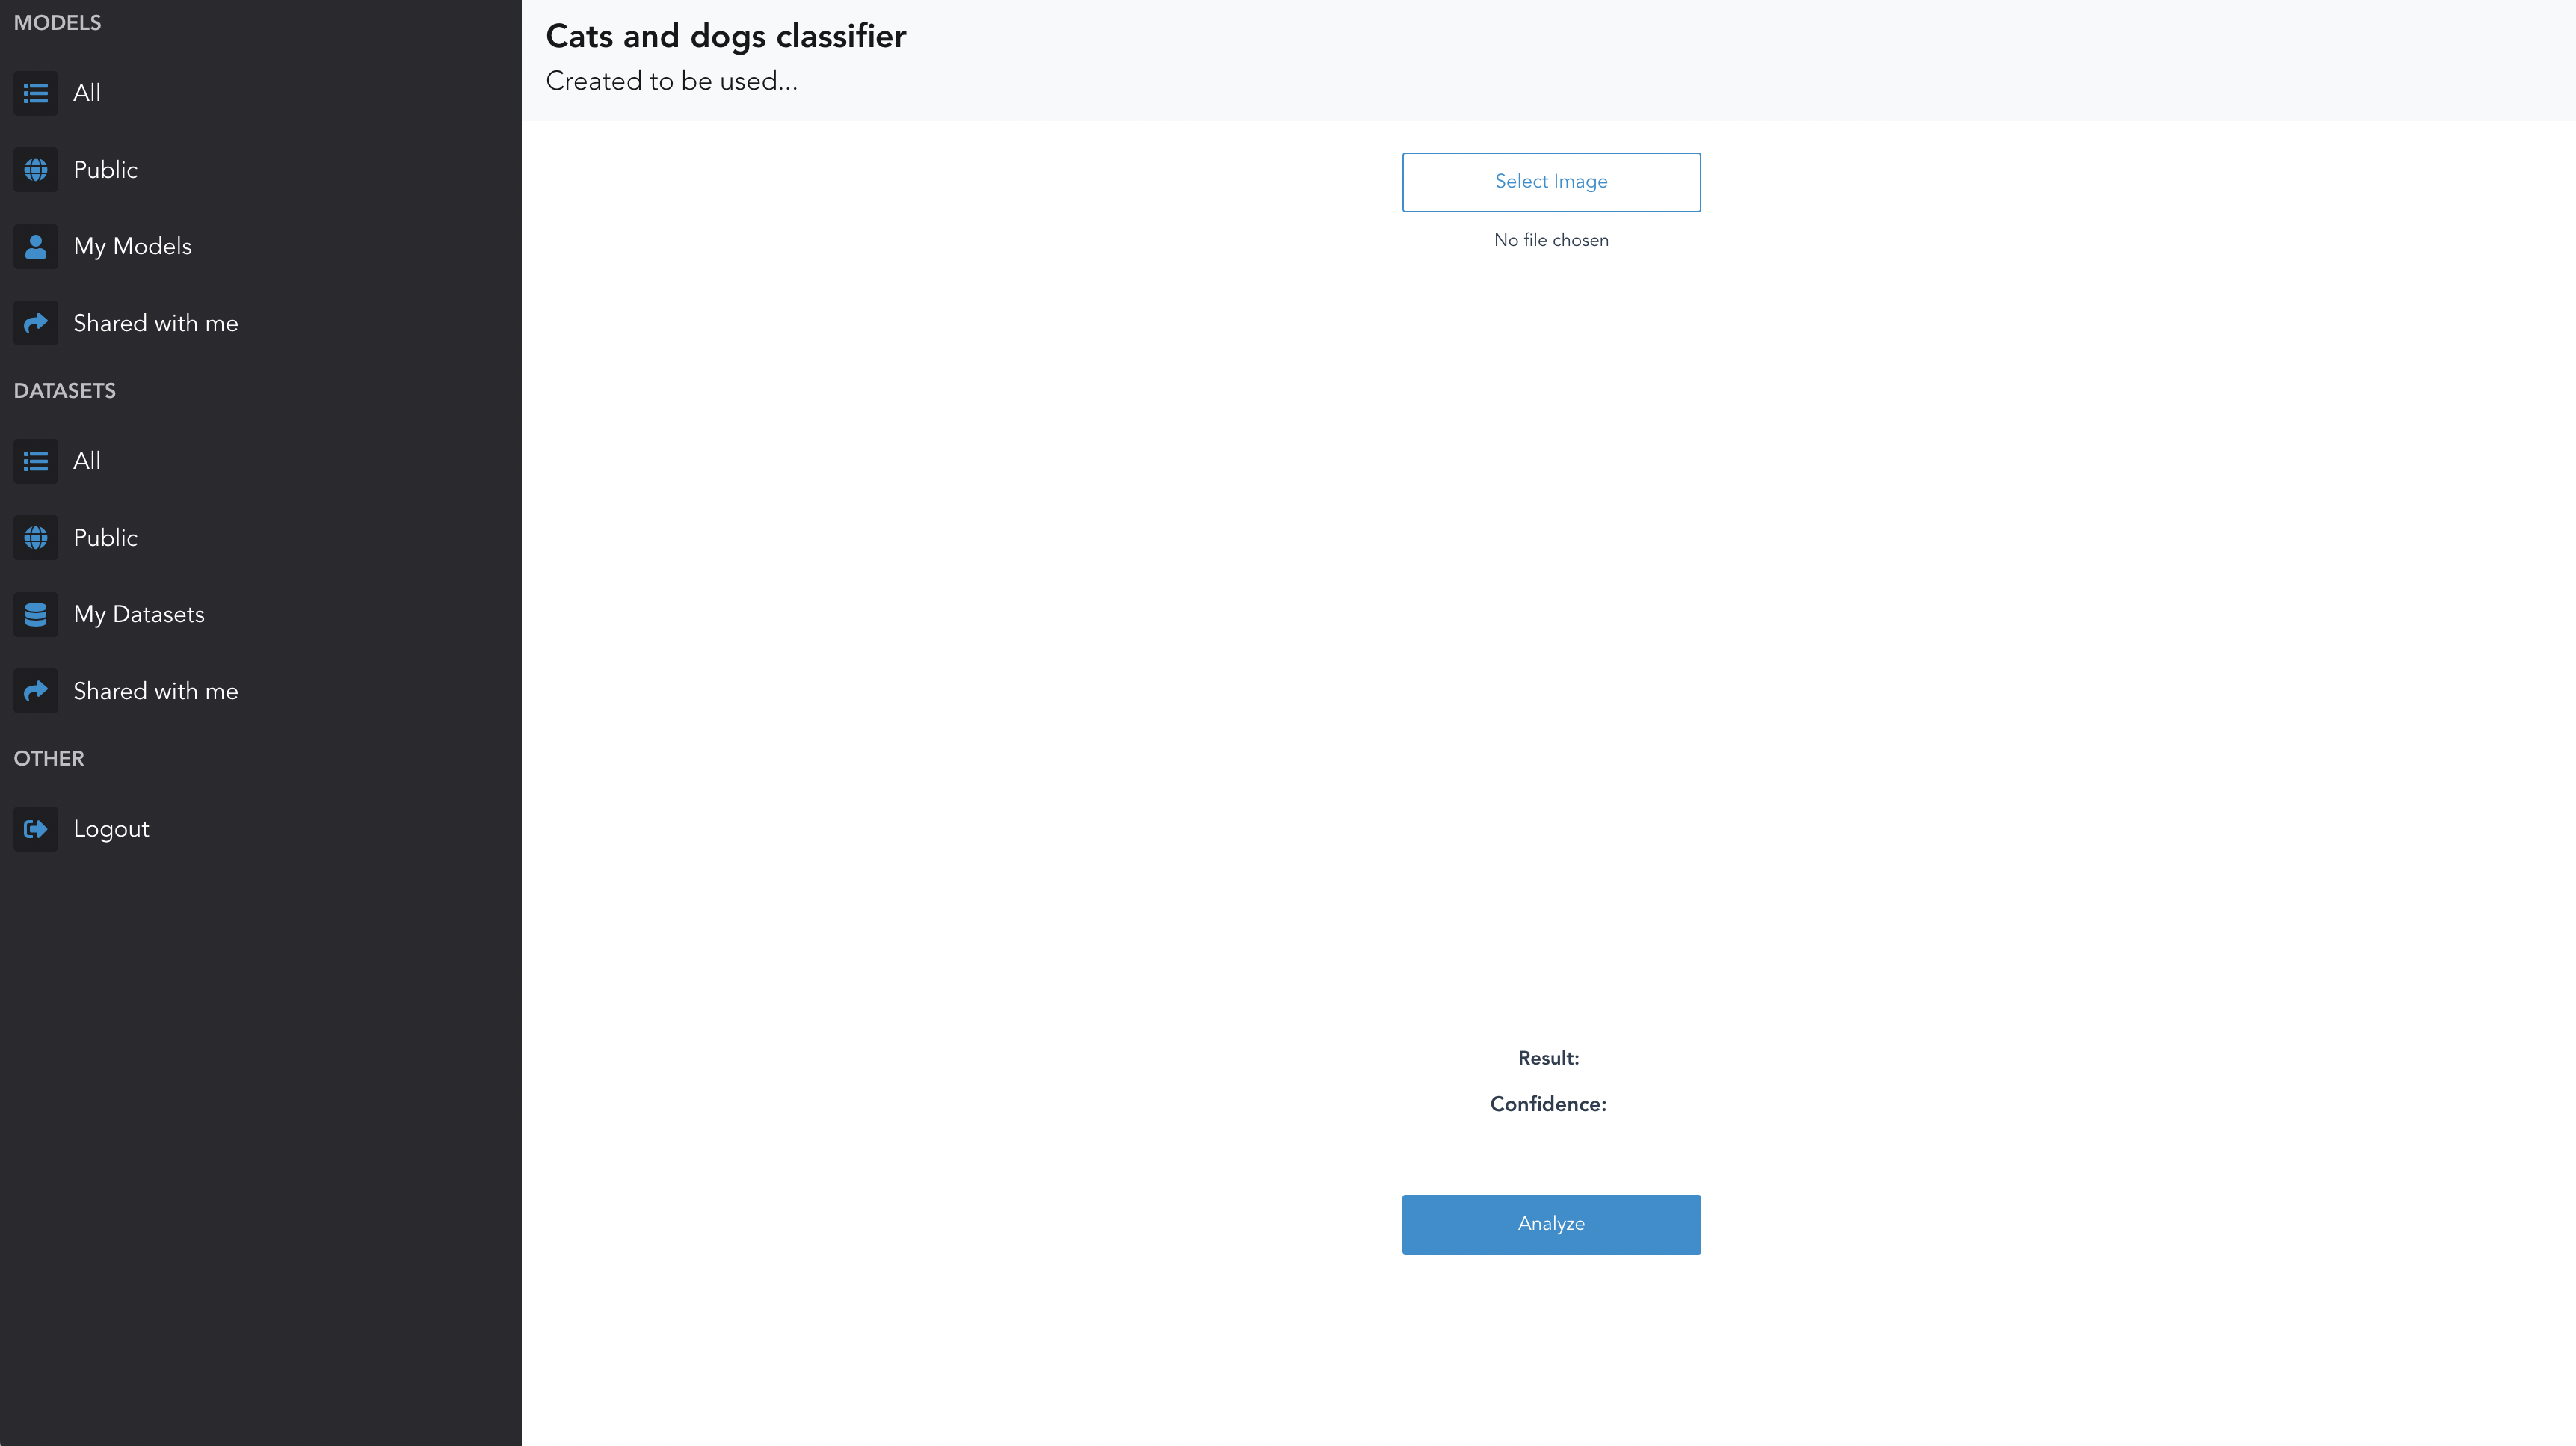
Next:
- click on
select image - find an image you would like to classify
- click on analyze
- Look at
resultandconfidenceto see what the prediction is.
iOS/Android
When you upload your trained model, SeeMe.ai automatically converts it to ONNX, TensorFlow Lite and Core ML. This enables you to install and use your AI Model on your device, even when you are offline.
You can install the apps from the iOS App Store and Android Play Store.
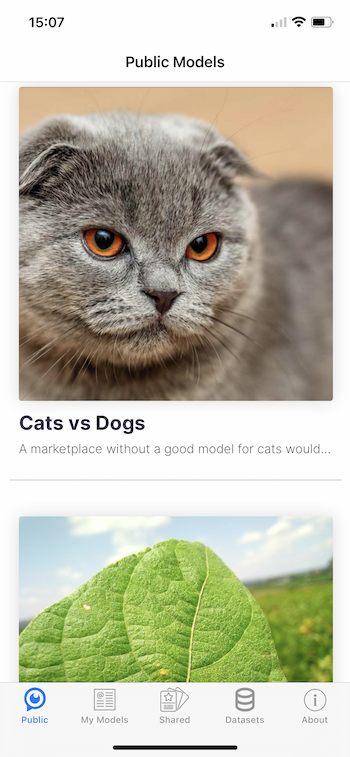
On the model detail, you can take pictures with the camera or select from the gallery:
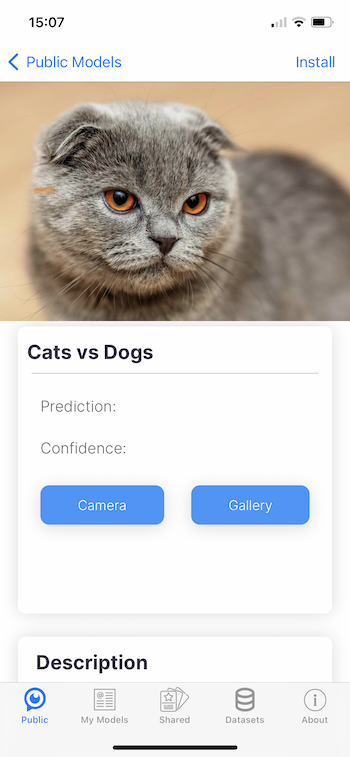
And see what your model thinks:
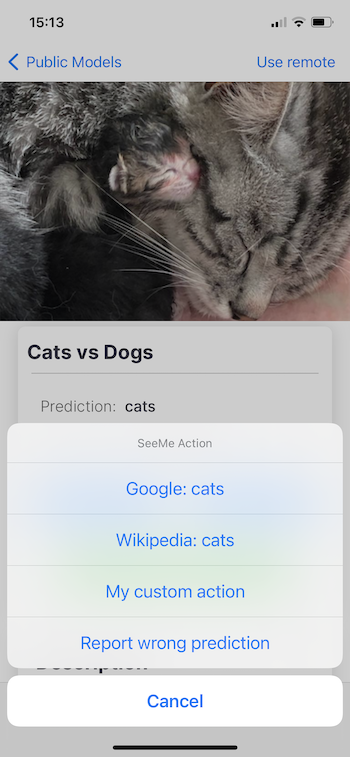
Once your model has made a prediction, you will see a green button name “Action”. When clicking that button, you have a number of choices:
- search Google for your prediction
- search Wikipedia for your prediction
- Report a wrong prediction
When the model is available to be installed, you will see the install button on the top right:
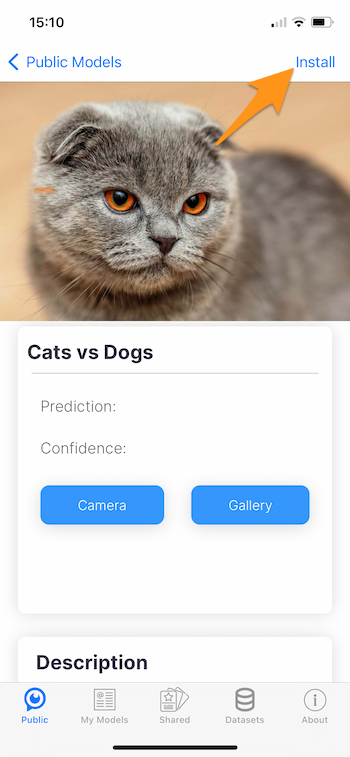
Once installed, you can still switch between using the offline or online version of your model:

Python SDK
You can also use the Python SDK to make predictions from basically anywhere, provided you have:
- SeeMe SDK installed
- Login credentials
- The ‘id’ of a deployed model
- An image to classiy
image_location = "data/images/image_to_predict.png"

result = client.inference(my_model["id"], image_location)
Print the results
print(result["prediction"])
print(result["confidence"])
Share your model
Once you have tested your model, it is time to share it with friends.
Go back to the home page, and click the edit icon.
You will go to the model detail screen:
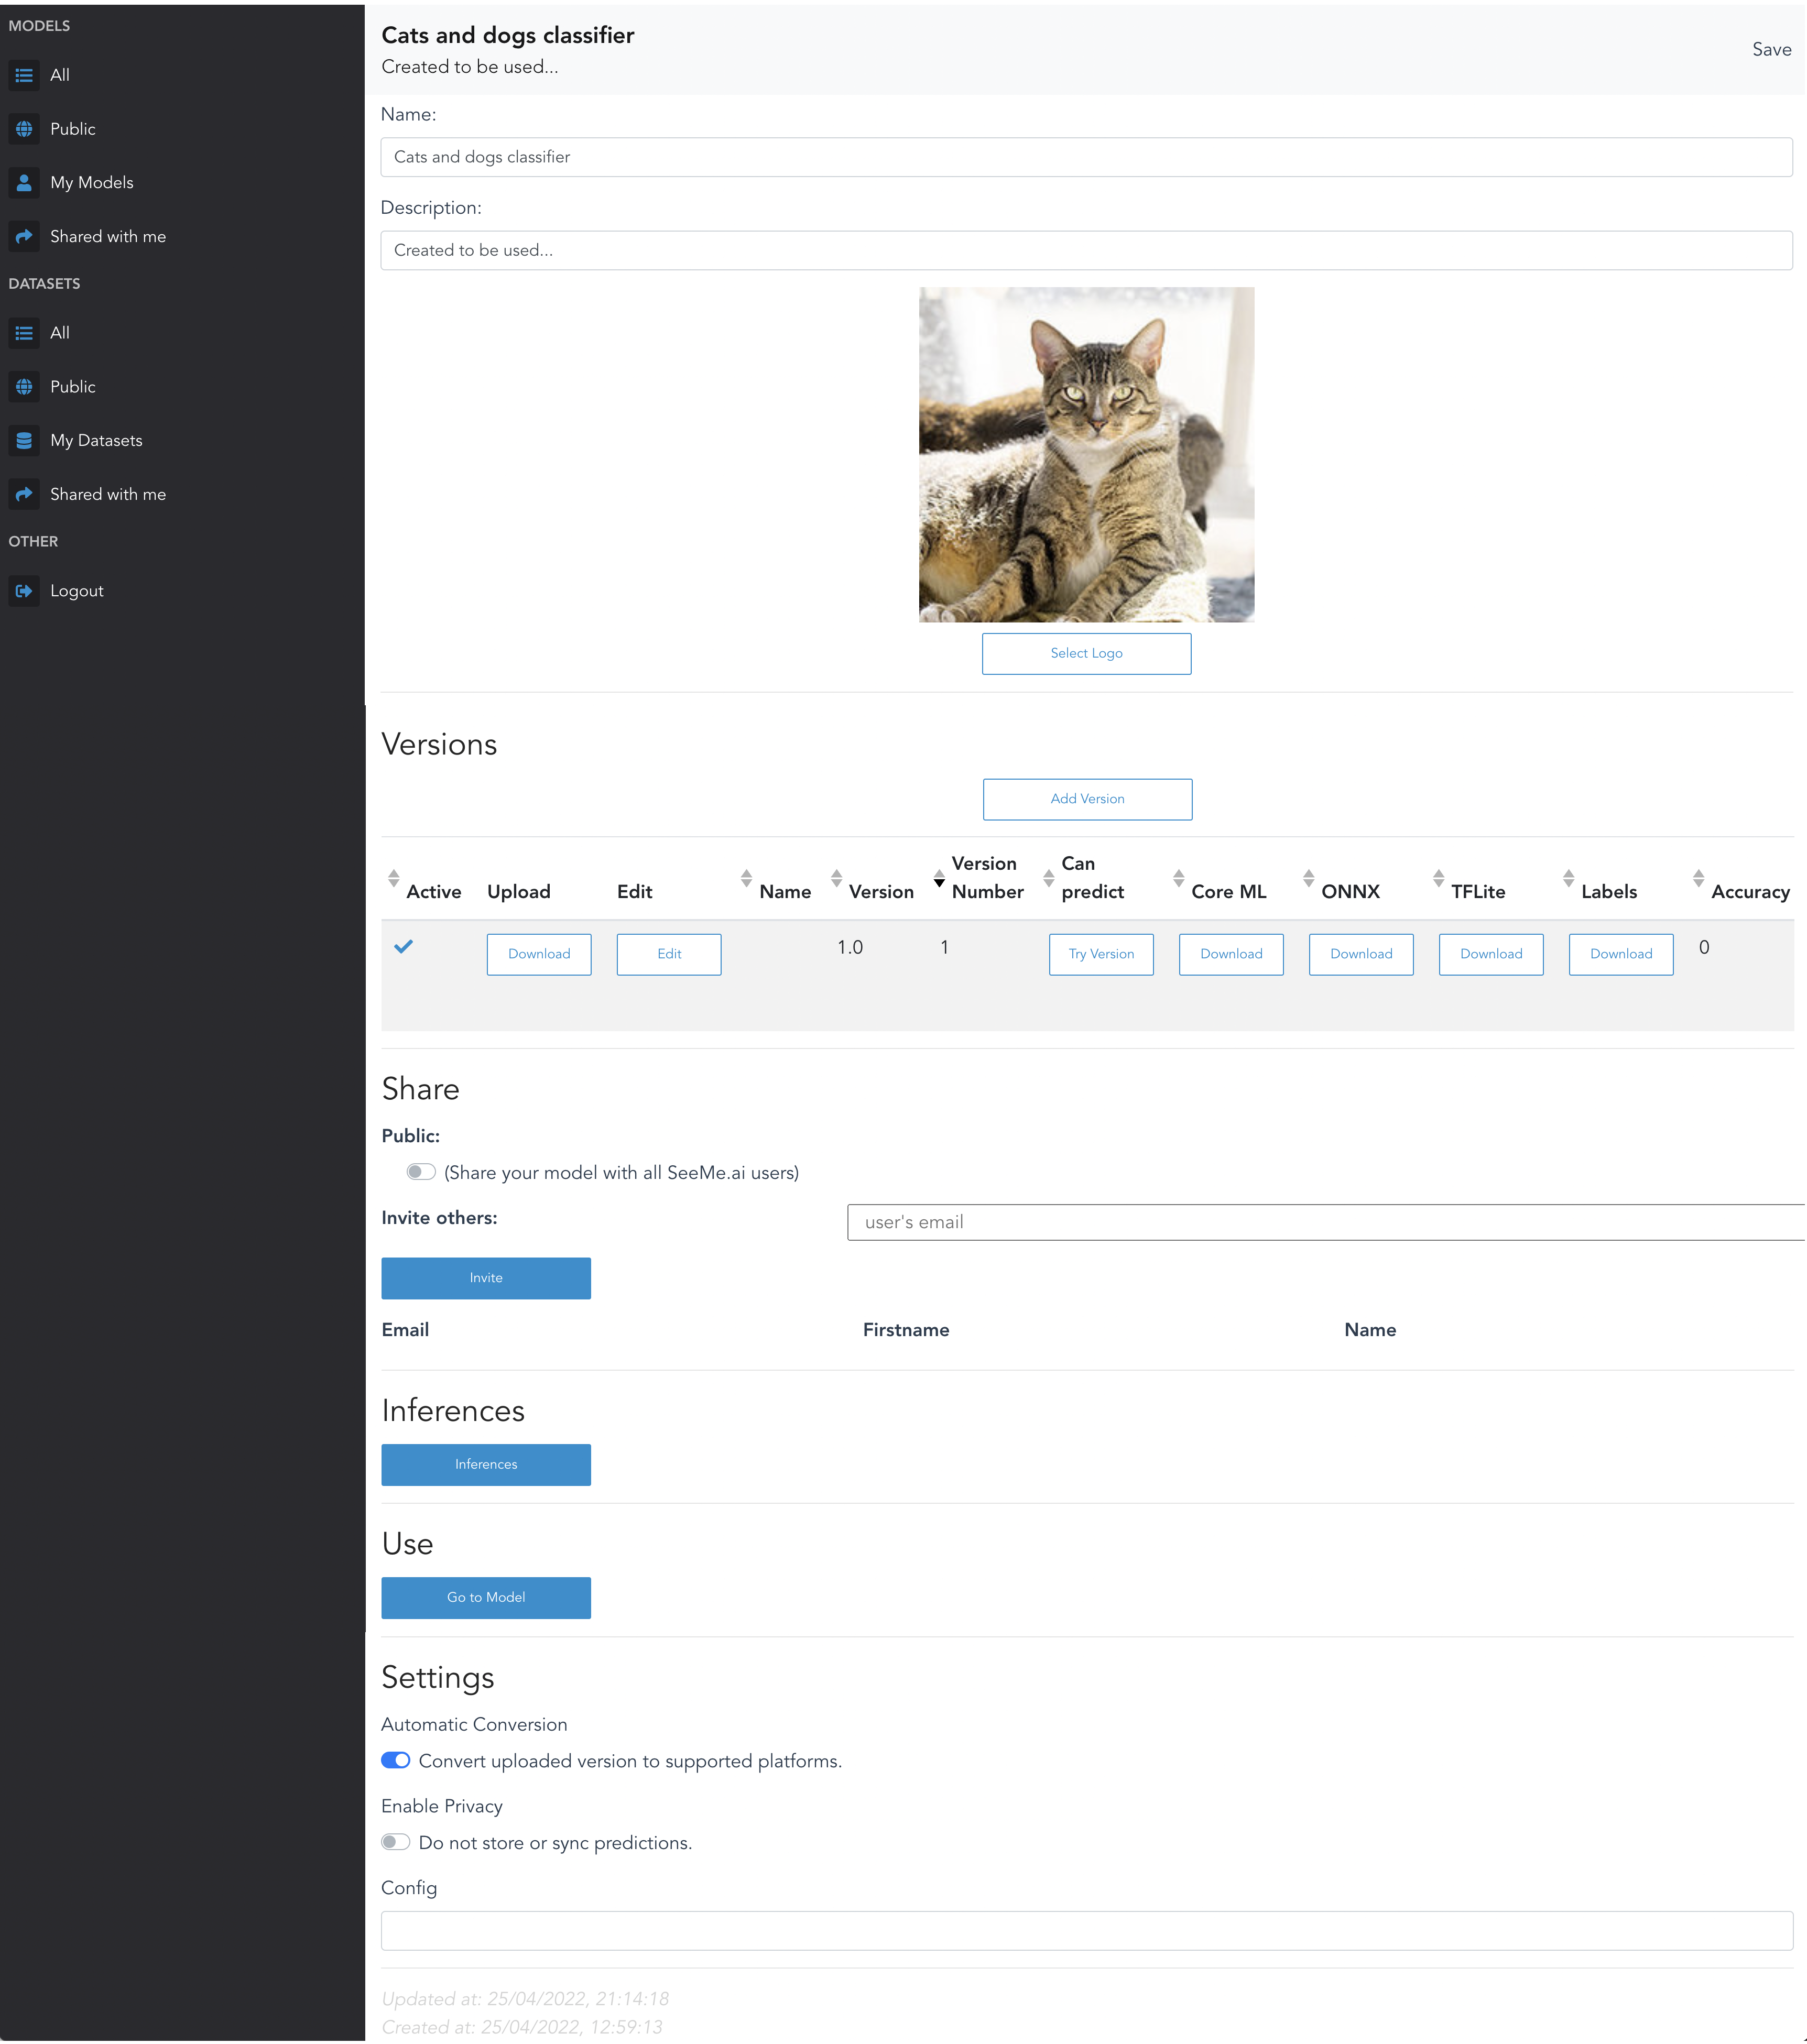
There you can invite people by entering their email address.
Once invited, they will receive an email to either register (if that email is not yet associated to an account) or to notify them of your model being shared with them.
Pricing
For pricing details, check the pricing page.
Status Page
An overview of the current status of SeeMe.ai: status page.
Support / Feedback
Check out the docs for more details, managing models and datasets, and/or other supported applications.
For feedback, questions or problems, send an email to [email protected].